
Like many of you in the pandemic, many of the hours of my days are spent in web meetings. For me it’s a combination of Teams, Zoom, WebEx, and Google Hangouts. Turning cameras on really helps to connect to everyone, even though it’s through a small array of dancing pixels. I’ve had fun using tools like Adobe Character Animator and OBS Studio with a reMarkable tablet to turn my camera feed into something a bit more interesting.

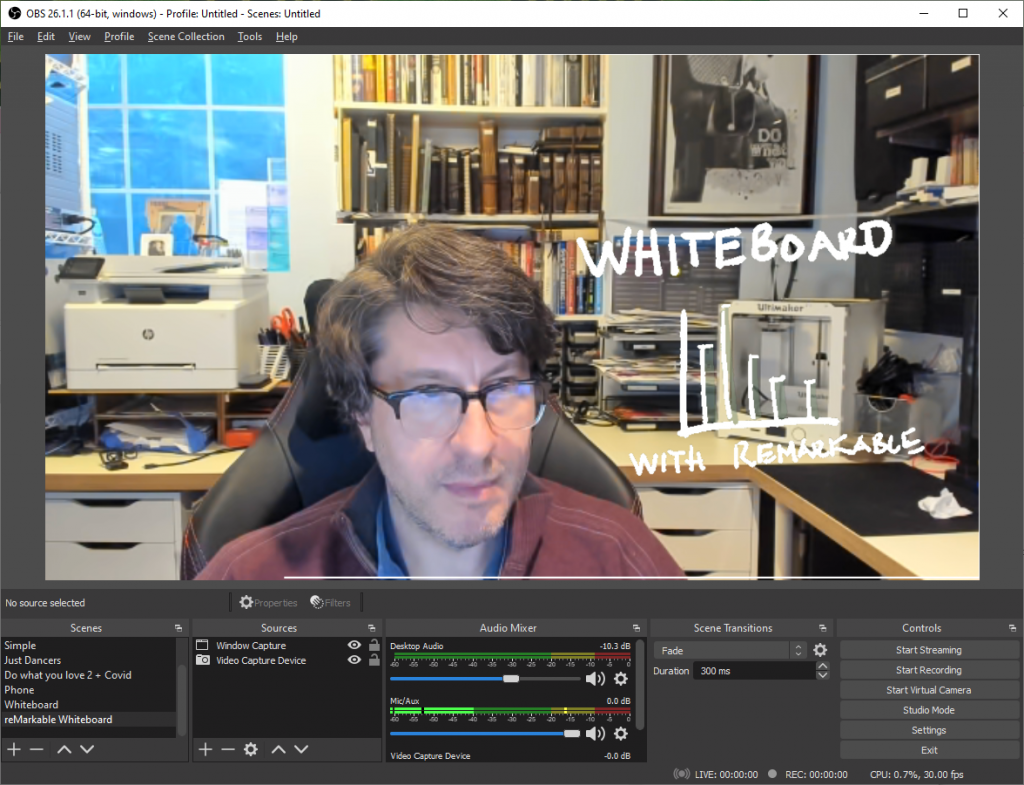
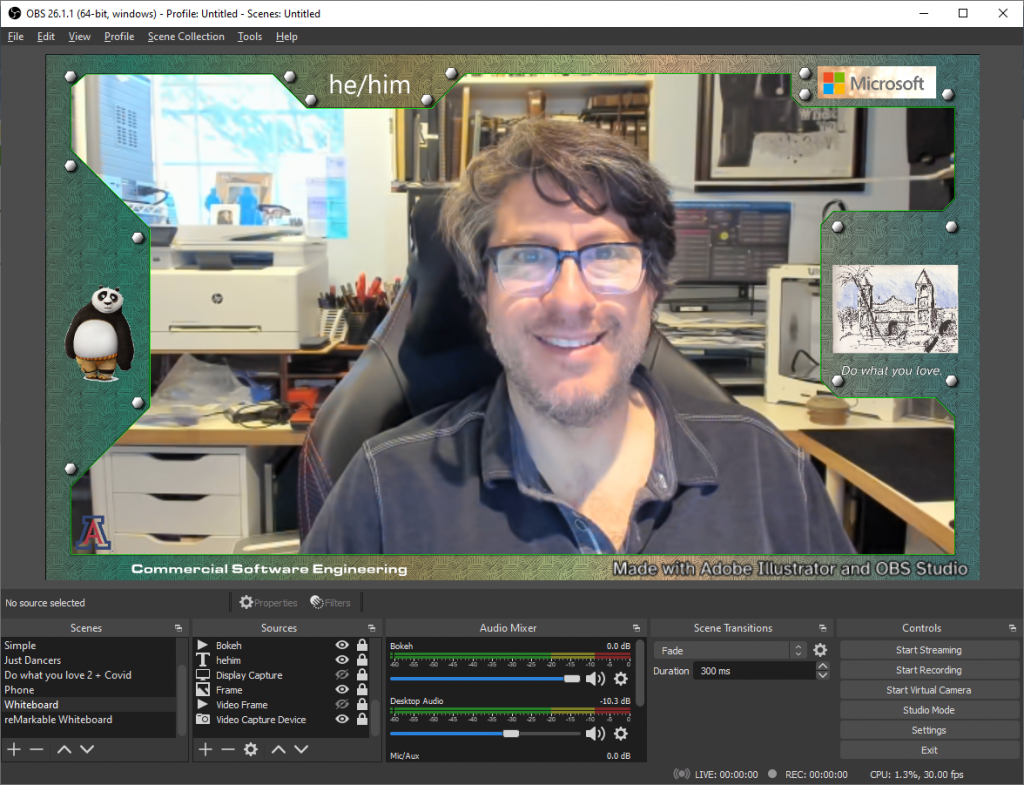
Using Adobe Illustrator, I’ve made a custom frame that I’ve started using in OBS Studio to express myself, similar to how I might use my attire or decorate my workspace in an office setting. I apply a Chroma Key filter in OBS studio

I then composite a number of text and image elements onto that have meaning to me – including a slideshow of my artwork. It’s been a great conversation starter before the start of a meeting. But I wanted to do a little bit more….
Adding Animation
I’ve always thought that adding a little bit of animation might be fun with the free Microsoft Photos app. If you are involved in selling or talking about real world items or even virtual ones, there is a great opportunity to share animated 3D models of those items in your camera feed as well. Here’s how I did it:
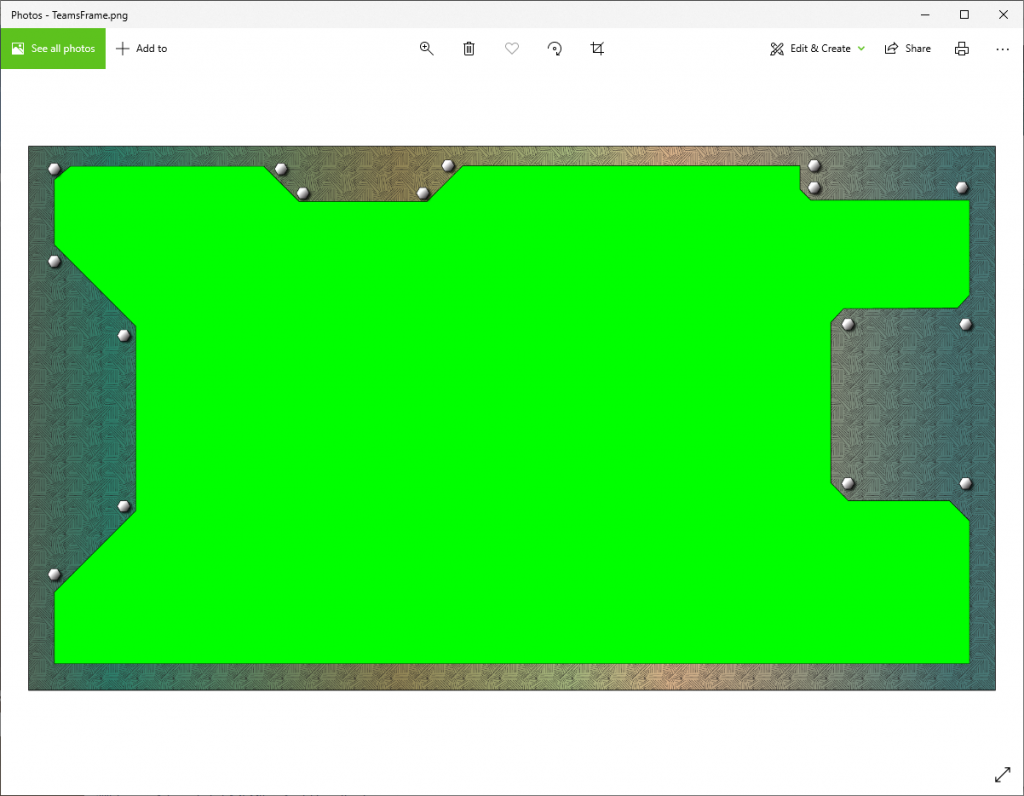
- I opened my frame .png image with the Microsoft Photos app and selected Edit & Create…Create a video with Music.
- I named the video Animated Frame and pressed OK.
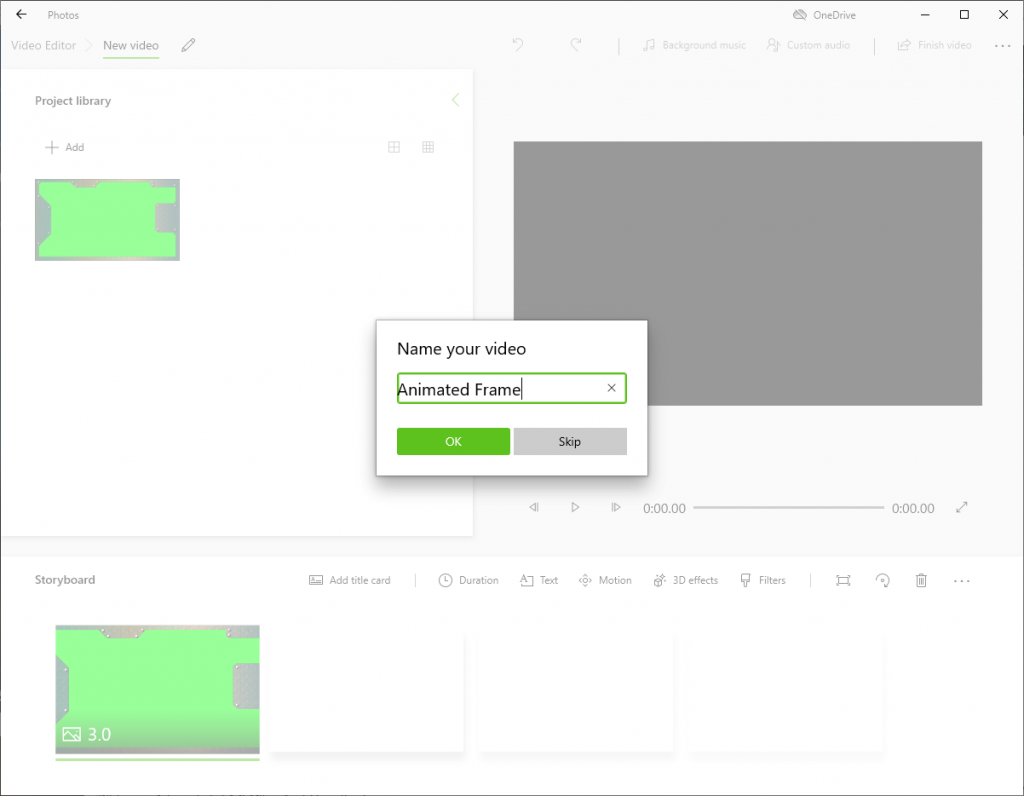
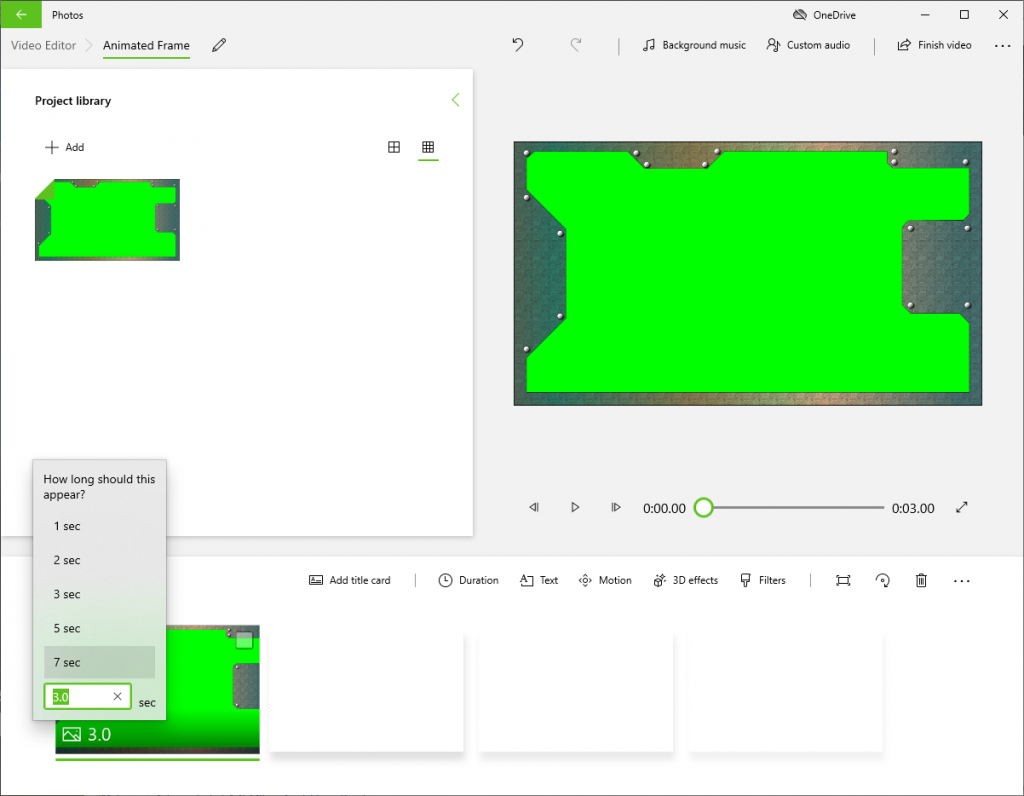
- I tapped on the 3.0 timespan on the first frame in the storyboard and changed the timespan to 10 seconds.
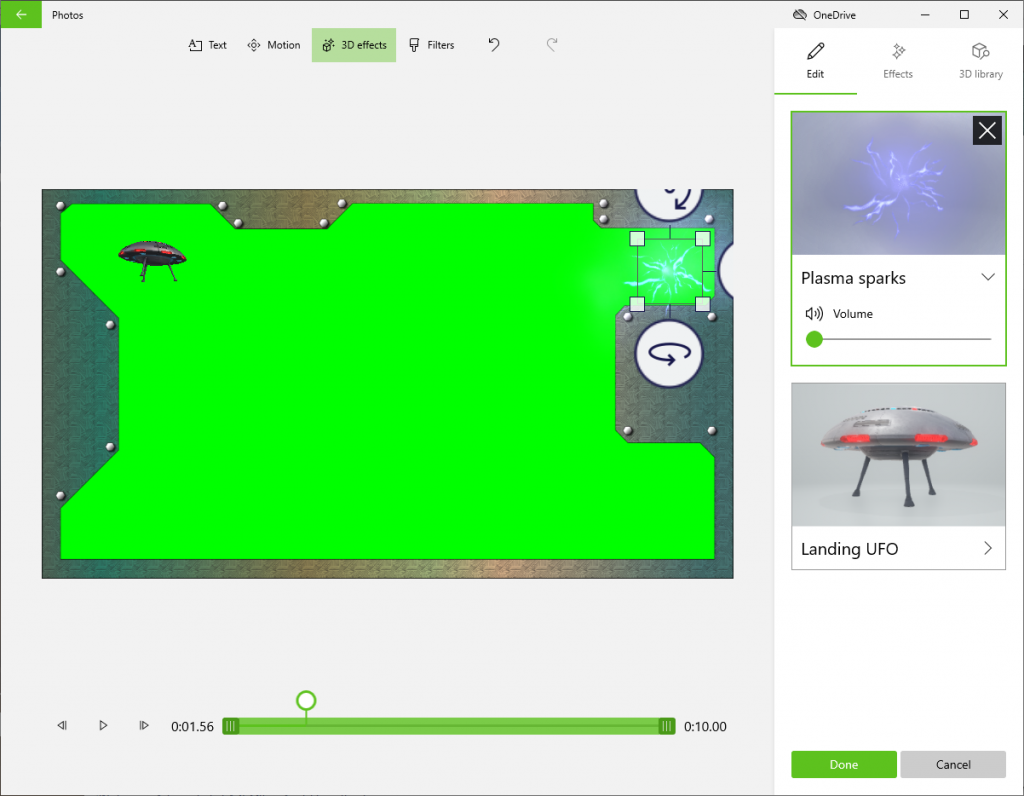
- I tapped on the 3D effects button to open the 3D Effects pane
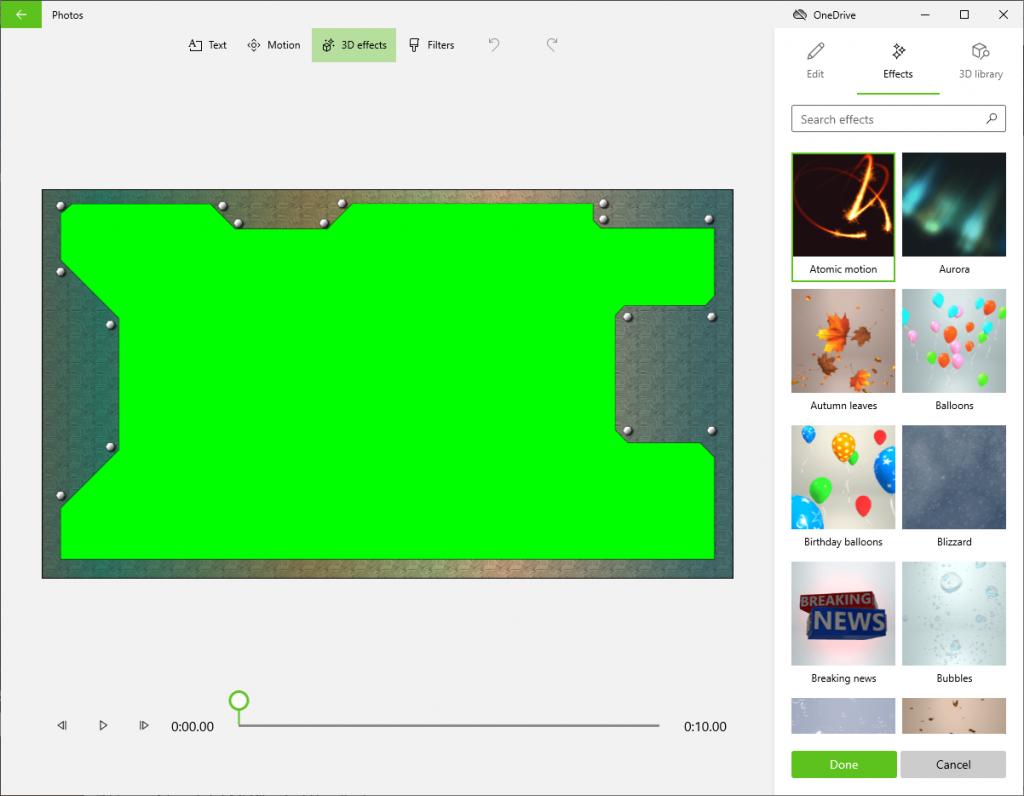
- In the 3D library tab, Sci-Fi & Fantasy group, I selected the Landing UFO and it was imported and showed up on my frame.
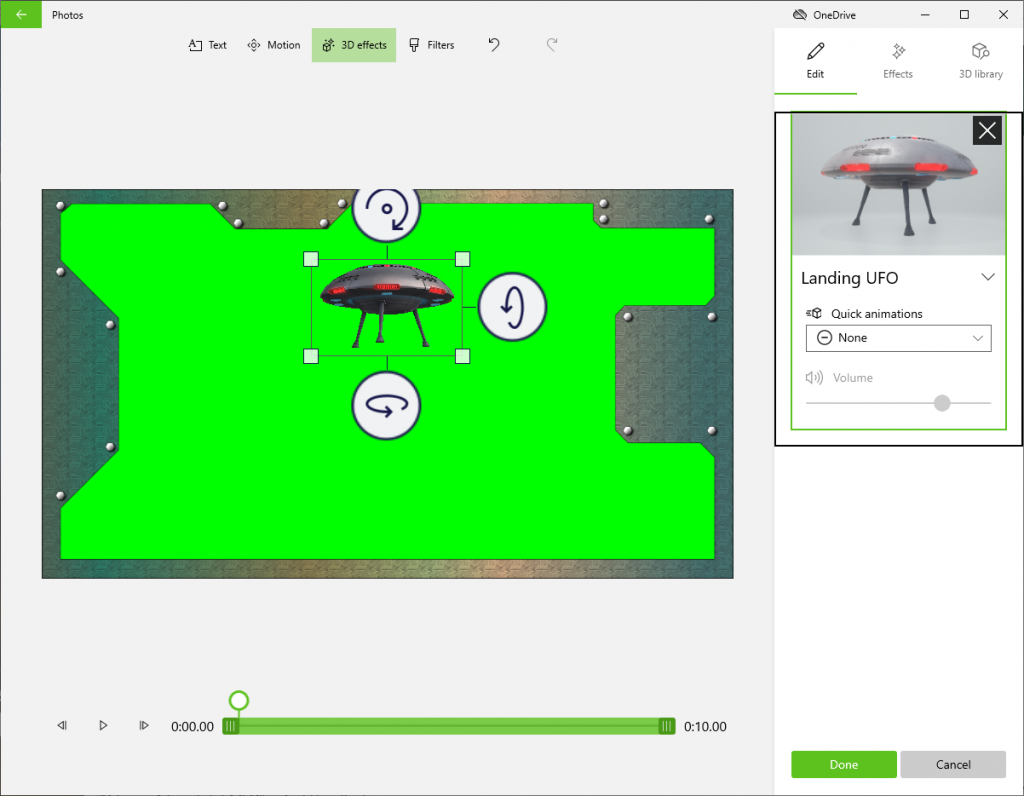
- I then dragged and resized the UFO to the upper corner of the frame.
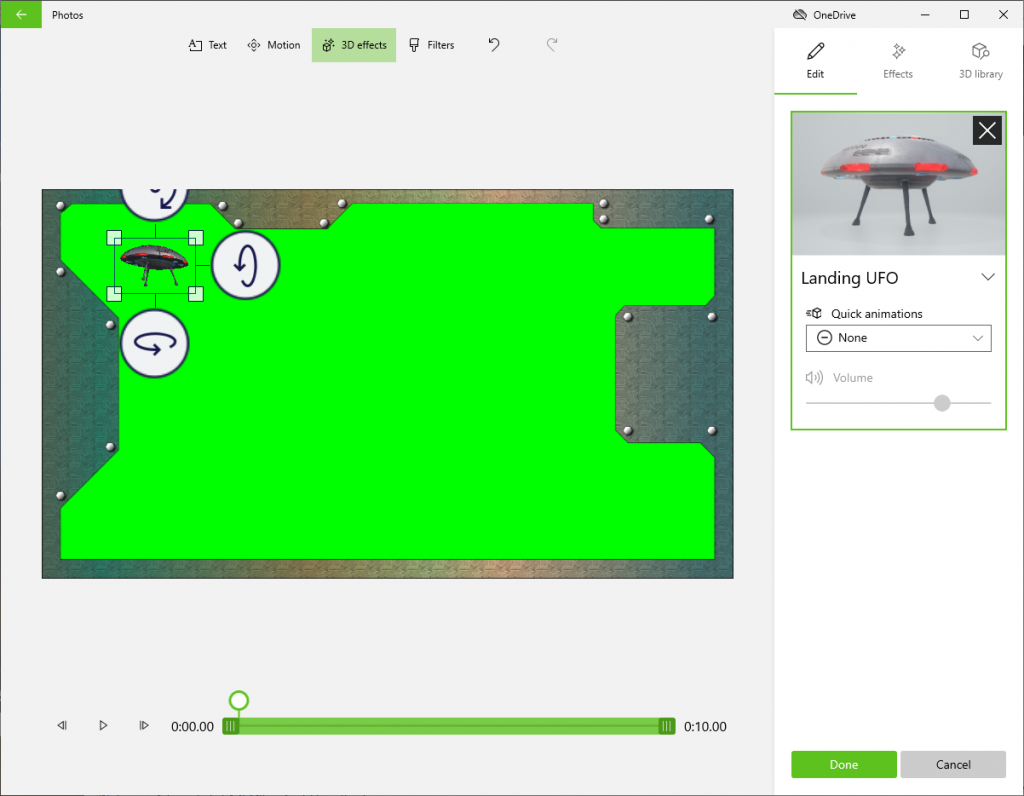
- In the pane, I changed the quick animation to Hover and reduced the volume to 0. I also dragged the timeline span to cover the whole duration of the video.
- I wanted to add one more effect, so I clicked on the Effects tab and added Plasma sparks, then moving it to the upper right and reducing the volume to 0. I also changed the timespan to cover the whole video duration.
- Now that I was done with that I clicked on the Done button and then the Finish video button, selecting the High 1080p video quality and pressing Export.
- I saved the file to my computer as Video Frame.mp4, resulting in this video
- Next in OBS studio, I added a new Media Source called Video Frame, selecting my Video Frame.mp4 as the source file and checking the Loop button.

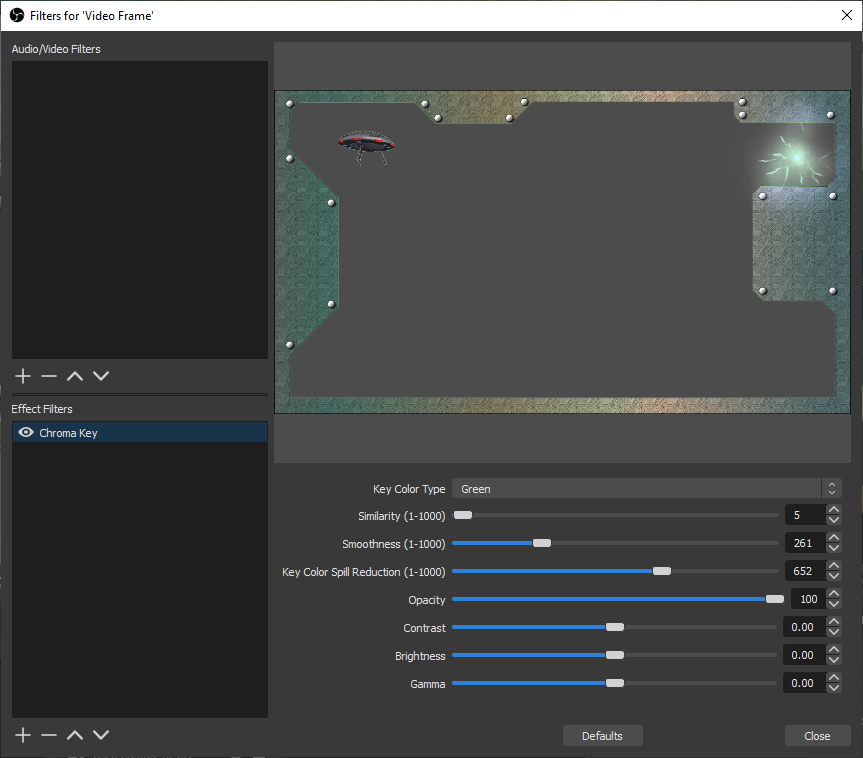
- I added a Chroma Key filter to the Video Frame media source
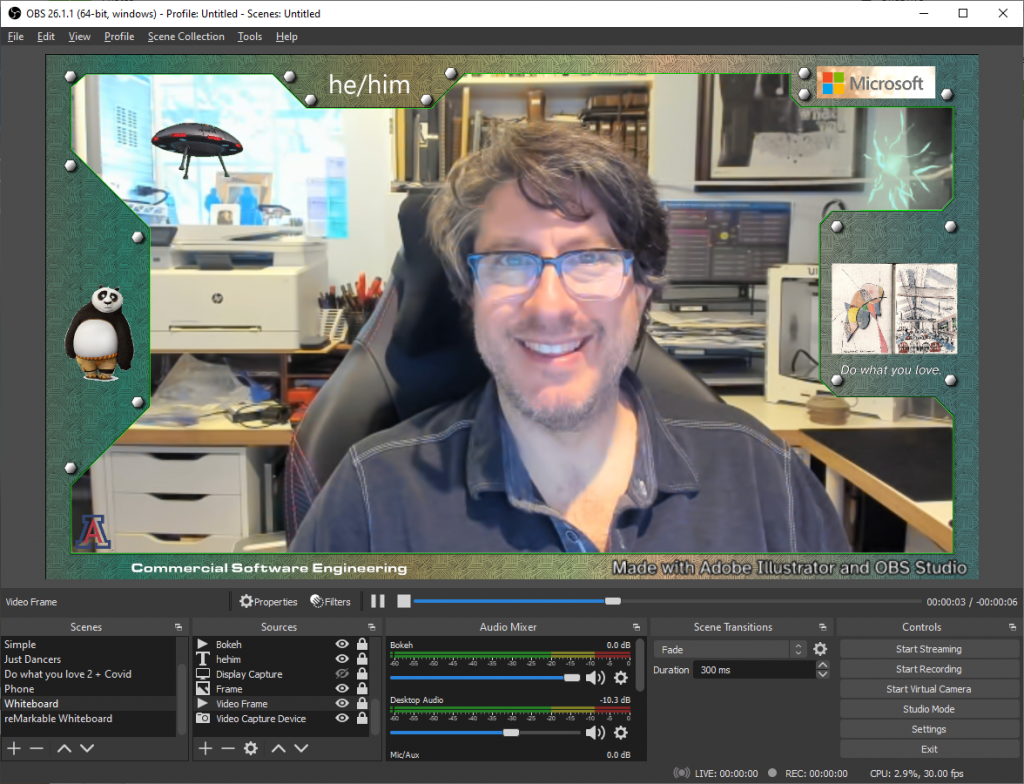
And I have an animated saucer and plasma sparking in my camera feed once I press the Start Virtual Camera button in OBS Studio. The camera will then show up in my list of available cameras as OBS Virtual Camera. I have the frame image right behind the video frame image so I can turn off the animations if they get too distracting.
The way that I look at it, If all people see of me is a rectangle of pixels the size of a credit card, I want all of those pixels to count. Please share what you create to make your web meetings more fun.